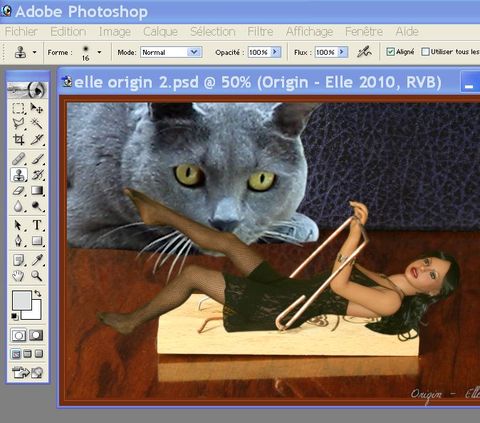
Tutorial for creating reflections in your pics

Body: 

I did this pic for
CoverDoll september edition but without the reflections
because i was internet less and not skilled enough
to create the reflections. I would like to add some
reflections today, for the cat and for Elle. The
reflection of the trap is from the original photo.

A- select
the layer of your character (Elle here) then click
right and duplicate the layer, i give 'reflect
elle' as new name

B- The new layer
'reflect elle' is created and selected

C- Use the menu 'EDITION'
then 'TRANSFORM' then 'VERTICAL SYMETRY'

D- The symetry is
applied to layer 'reflect elle'.

E- Use the moving
tool to move the layer where you think the reflection
of your character should be.

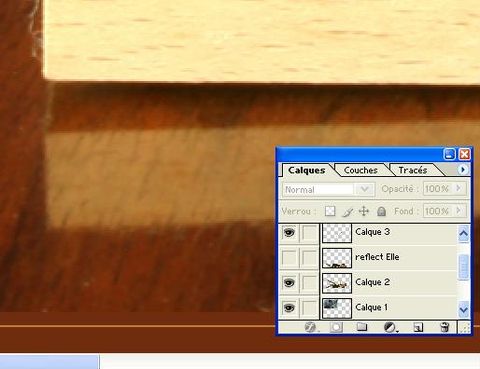
F- Change the opacity
of the layer 'reflect elle' so that the reflection
is transparent enough for you. you can use the 'background'
choice just under the 'opacity' tool too.

G- Hide the layer
'reflect Elle' by clicking the eye in front of it.

H-
select the layer of your background

I- after having zoomed
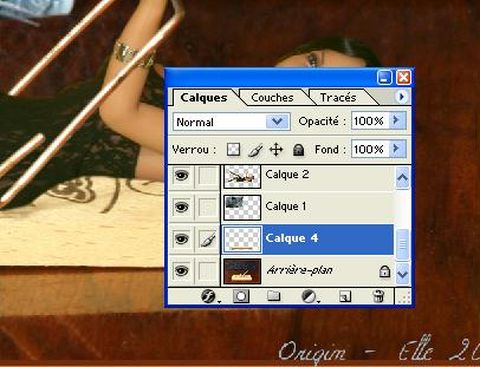
the pic, select the part of the background which
must be a foreground over Elle's reflect (hidden)

J- copy/paste this
partial foreground, creating a new layer 'calque
4' in my example.

K-
click the eye in front of layer 'reflect Elle' so
that the reflect appears

L- move the layer
of the partial foreground 'calque 4' above the layer
of Elle's reflect using a drag & drop. The reflect
of the trap is now over the reflect of Elle.

M- Use the menu 'SELECTION'
then 'GET BACK the SELECTION (recuperer in french)'
of your Layer 'calque 4' foreground of the trap.
We will give a less sharpened look to the reflect.

N- use the menu 'SELECTION'
then 'CHANGE' then 'FRAME (cadre in french) to change
the selection to only the border of the selection
(i used 4 pixels as the width of the border)

O- use the menu 'FILTER'
then 'ATTENUATION (in french)' then 'GAUSSIAN BLUR'
and apply a value of # 1.4

P- For the reflection
of the cat. Do the step A to E as you did them for
the first character (Elle). Then use the menu 'EDITION'
then 'MANUAL TRANSFORMATION' to change the form
of the cat because its reflection must be more flat,
i think.

Q- Use the cursors
of the shape to change the form of your cat then
validate by 'ENTER'

R- Dont forger to
change the opactiy of the layer of the cat's reflection
like you the step F

the cat's back could
be rounded but that's enough for now ;)

Here's the finished pic you can click to view in
medium resolution at Elle's website.

Thanks for reading
;)

Comments

Great tutorial, I hope the cat didn’t get Elle :)

Kharn

CoverDoll Publisher To err is human to forgive divine.

Thanks for the tutorial, a big help for those who want to learn the art of photoshopping!

Dear Elle,

Thank you for taking the time and trouble to show us how. So often it is never as easy as it looks.

It is appreciated.

dolltime

Thankyou Elle for taking time out to put this together.Smile